If you're like me, you have your bike set up on a trainer in your basement and, as you've sat there on your bike set up as a trainer in your basement, you've thought: "You know, this would be a lot less boring if I had a desk in front of me. I wonder how I can make that happen."
My guess is that most of you are not broken in the same way I am and you've never wondered how to build a desk on top of your bike set up on a trainer in your basement. That's awesome.
For those of you still reading, I think it's safe to assume that we share a few things in common:
- a knowledge that working out is something we "should" do,
- a real distaste for working out and/or the chattering of our unoccupied minds,
- the sense that the time we spend working out could be otherwise put to productive use, and
- a kind of entrepreneurial spirit that embraces DIY projects.
For a few weeks after the "bike desk" idea burrowed its way into my skull cave, I looked around the room at the walls and ceiling and researched computer monitor arms and heavy duty hinges on the internet. The rough idea was to create a kind of Murphy Bed Desk that could fold or swivel out in front of the bike as needed. For a variety of reasons (the top of which was lack of technical prowess), I never landed on an obvious, easily-implementable solution along the arms-or-hinges line of thought.
Instead, one day I looked over near the furnace and saw a white plastic card table folded up and thought, "Eureka!"
My guess is that every American household has at least one of these white plastic tables. Between the office and home, I think we have three. They come in handy when you're going to be playing with heavy-duty bubbles for 4-5 hours with kids. Or you have a construction or assembly project heating up in the garage. Or you need a kids' table at Thanksgiving.
Or, in my case, you find yourself needing to build stilts for a desk to fit over your bike sitting on a trainer in your basement.


Here are the basic ingredients for some desk stilts:
- 1 table (Mine is a Lifetime brand 4’x2’ job and it is just about the perfect size and the legs are completely vertical rather than curved out from the center like some larger tables. This turns out to be important since the whole enterprise of desk stilts depends on sliding straight PVC pipe over straight table legs.)
- 10 feet of 1 1/4" PVC pipe
- 8 1/4"-20 x 2" screws
- 8 1/4"-20 wing nuts
- 4 1/4"-20 brad hole tee nuts for stabilizing table legs
- 4 shorter stabilizing bolts (1/4"-20 x 3/4")
- 4 1 1/4" end caps (optional)
Tools you’ll need
- Saw for PVC pipe (I used a jigsaw, which I’m not sure is strictly recommended, but it worked for me.) A handsaw is probably safer and a better workout.
- Drill (This is not my drill, but the drill I wish were mine. So, go buy it and eventually I may be able to get one, too, through the awesome power of Amazon Affiliate links.)
- Screwdriver or hex wrench depending on the kind of screw head you buy
That's it. Here are the rough steps you are going to follow:
- Set up your table on some improvised stilts (in my case, boxes of too-small baby clothes) to see how far off the ground the stilts need to lift your desk. (For the record, I wrote all of the above in 30 minutes while sitting on my stupid bike in my basement.) Do your own measurements to get the ergonomics of your desk right. Ergonomics are important, so don't not click on that link in the last sentence. The essential idea for arms, though, is that you want your elbows to be at a 90 degree angle when typing.
- While you’re at it, you may want to measure the height at which you would need to elevate the table to make it a useful standing desk. You will eventually be drilling a hole through the PVC pipe and putting one of the bolts through at that point to create a place for your table’s leg to rest. My measurements turned out to be 23” off the ground for a bike desk and 12” off the ground for a standing desk. But, your measurements are going to be different depending on the size of your bike and the size of your body. Plus, 23” turns out to be about 2” too tall for me, so I’m going to be drilling more holes today at my house. (In retrospect, instead of only drilling two holes (one for standing and one for biking), my recommendation is to just drill holes every inch along the pipe so that you have a hyper-customizable height adjustments. I mean, you never know when a house guest with a different stature might demand a standing desk in their room. Plus, you’ve already got the drill out and you’re making a mess, so go make some holes.)
- Worth noting at this point that if you are using a different table, you will want to measure the diameter of your table’s legs and buy PVC pipe just a little larger than that diameter.
- Cut your PVC pipes so that you will have 4-5” of additional pipe above the height of the bolt that will bear the weight of the table. My pipes (including the end cap, which adds about 1” of height to the pipe) are about 29” long.
- If using end caps, add those to the four pipes you’ve cut. Push hard! Measure from the bottom for the height of the bolt on which your legs will rest. Measure a couple inches from the top for a hole for your stabilizing bolt.
- Drill holes. Drill all the way through for the height bolt and only on one side for the stabilizing bolt. If you are also going to use this as a standing desk, you would drill additional holes in each leg for the bolt on which your table’s legs will rest in the standing desk mode. (You may also want to remain cognizant of the difference between the biking and standing bolts. If that distance is greater than the distance between the top of your PVC pipe and any bracing hardware near the top of your table, well, that’s a problem.)
- Slide the biking bolts into place and tighten with a wing nut.
- From the inside of the pipe, hold the stabilizing brad into place while screwing the bolt in until it is flush with the brad’s flat surface.
- Turn your table upside down. Slide the PVC pipe onto each leg and tighten the stabilizing bolts against the table’s legs.
- Place the table over your bike. You may need to make some adjustments to the table legs’ angles or tighten even more the stabilizing bolt.
- Get pedaling.
There you go! A lot of pedantic detail over what is a pretty straightforward process. All in, if you don’t have a table, you’re looking at a cost of less than $150 to build yourself some bike stilts that can modify a table into a standing desk or bike desk. Less if you already have a usable table. Plus, if you’re buying in volume, you’re probably going to have a few bolts and nuts left over.
Frankly, in 2017, we shouldn’t be going to Lowe’s to modify our desks to fit over our stupid bikes sitting on dumb trainers in our sad basement. Lifetime or some other company should have gotten on the Standing Desk Express that is barreling down the culture tracks and manufactured a table with dramatically telescoping legs already. They make one for modest height adjustment down from the standard desk height because, I guess, kids. But, I haven’t seen any in my modest research that go up to accommodate all of us doers out there. If you know of one, let me know. Even with two standing desks at the office and now this contraption at home, I’m in the market.
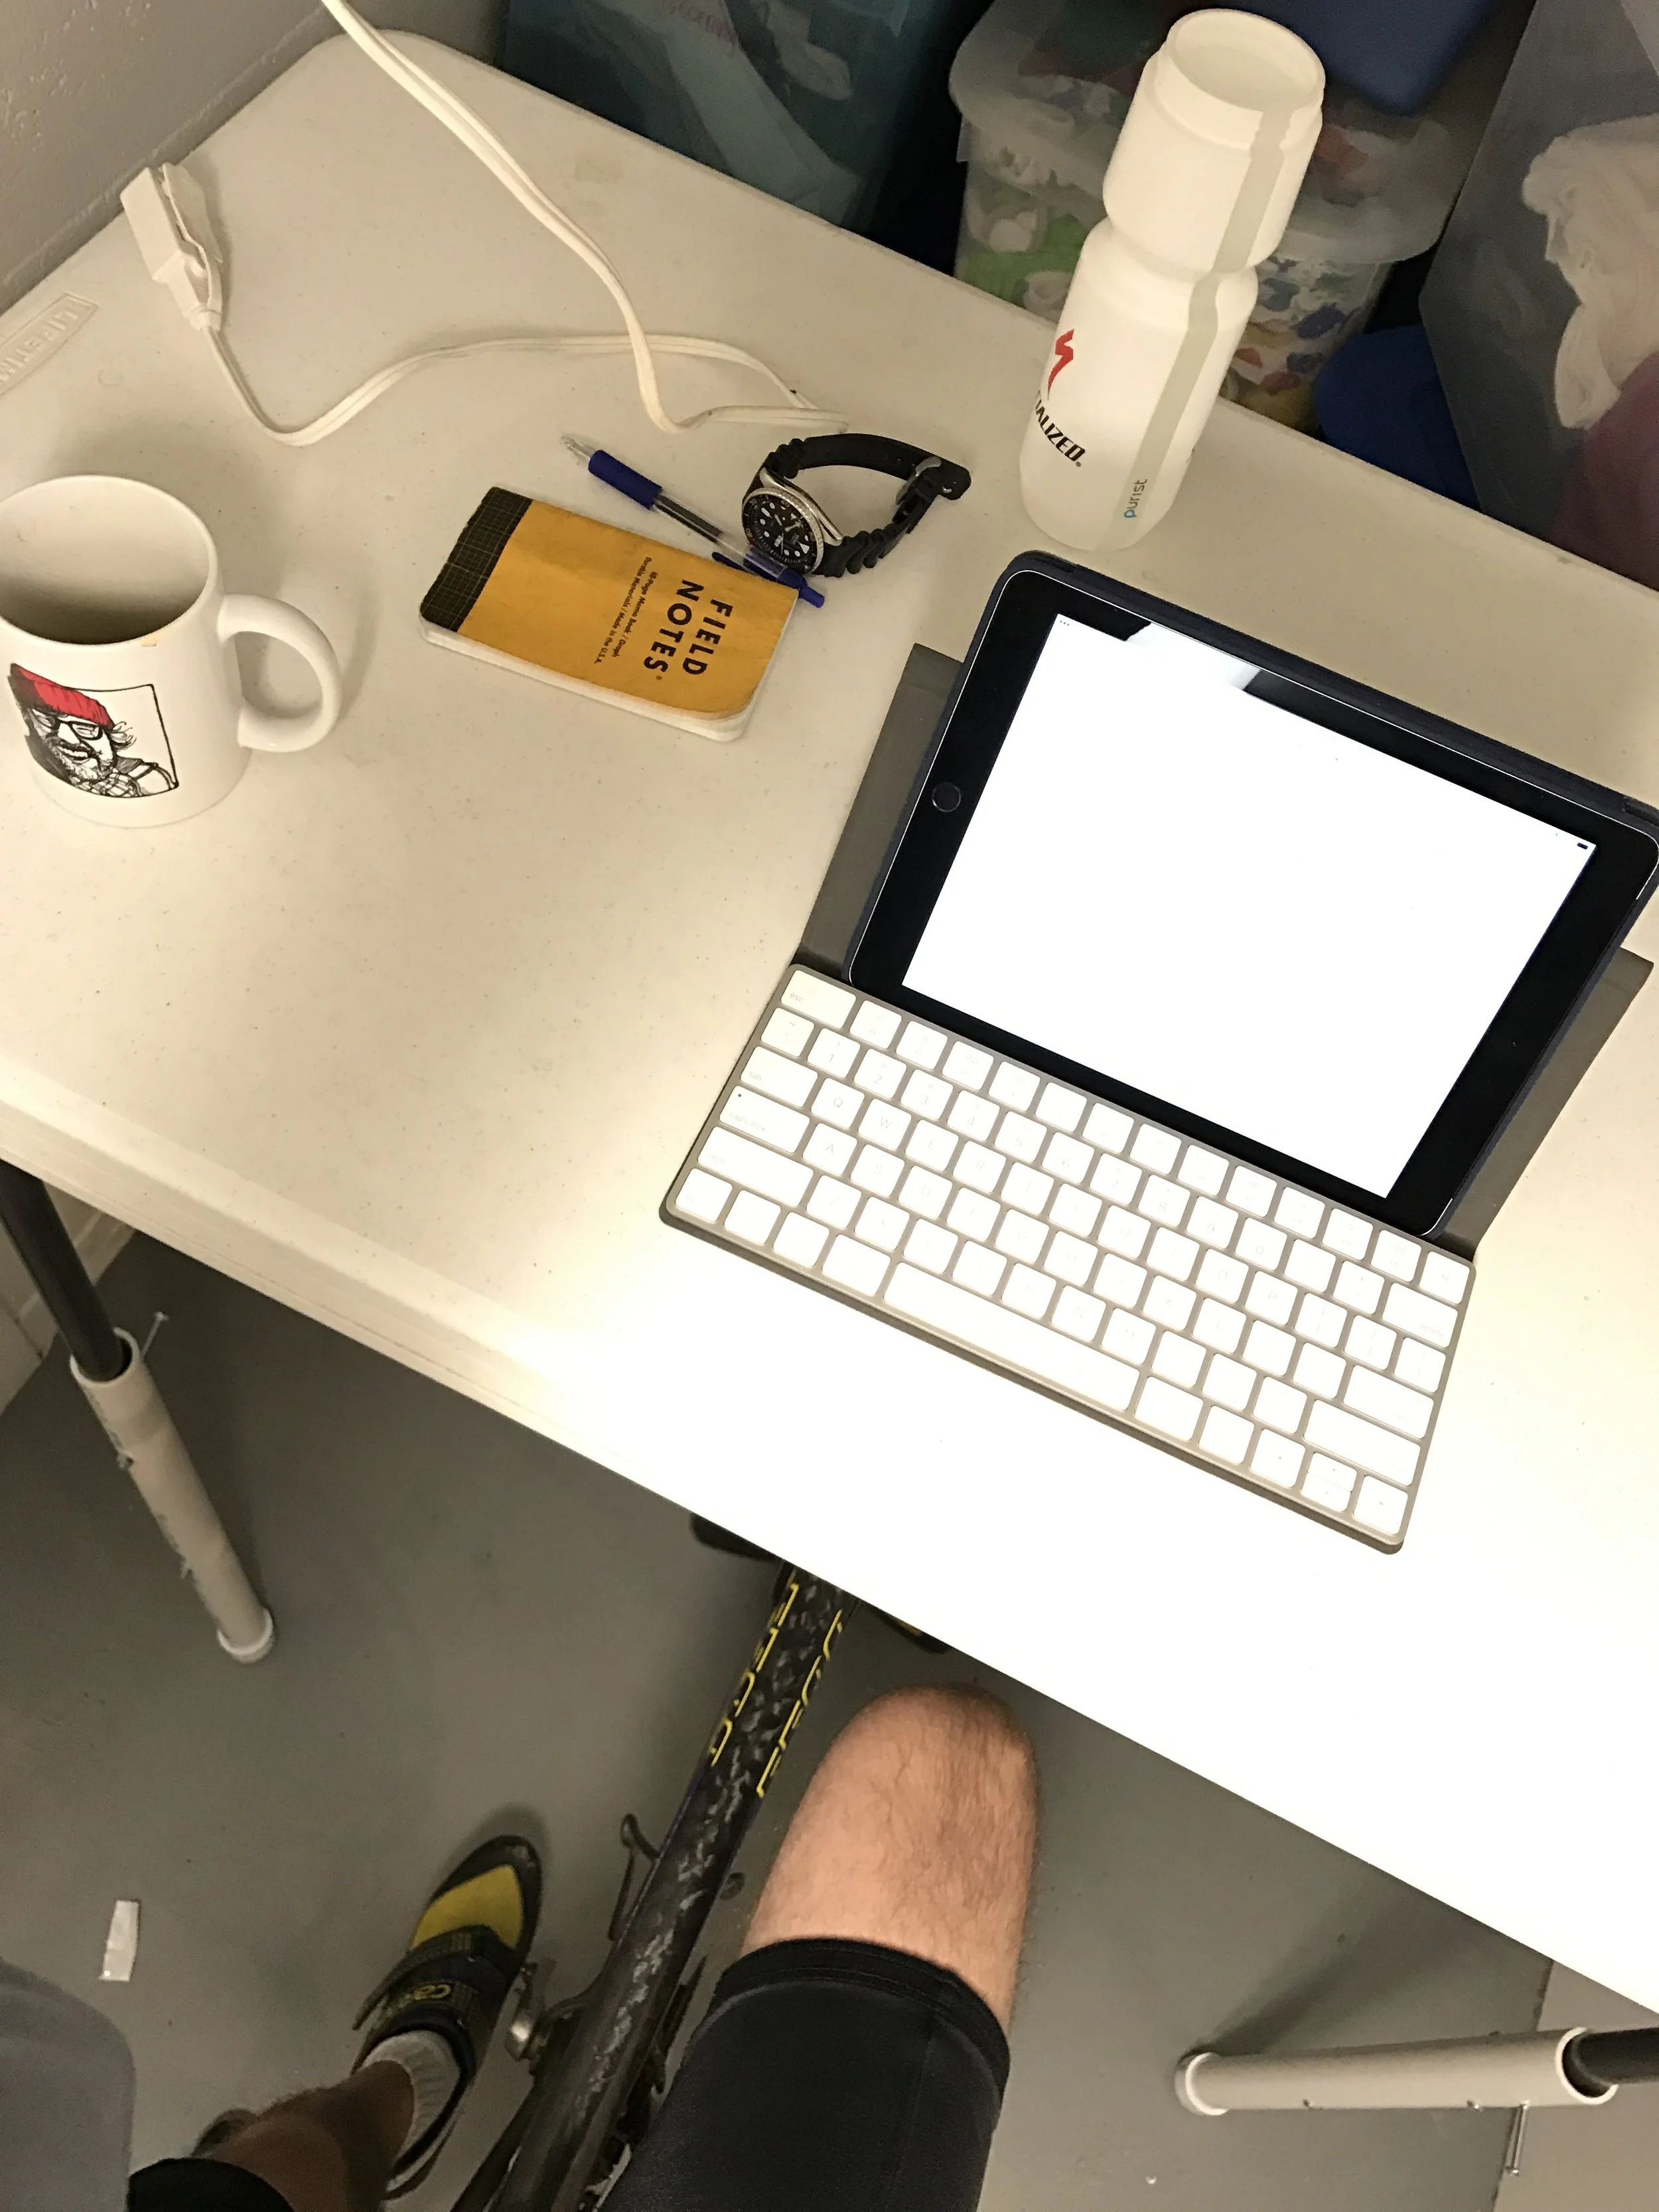
(Wrote the last part of this piece a couple days later while sitting and sweating at my bike desk.)
As far as what equipment is sitting on my bike desk, I use an iPad with a Magic Keyboard and Studio Neat's Canopy. If the Canopy's dimensions didn't require the Magic Keyboard, I'd probably go with the less-expensive, but highly regarded Logitech Easy Switch bluetooth keyboard instead.